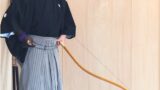
Have you noticed that the nocks of your arrows gradually wear out over time?
If you’re thinking about replacing them, hold on! While you might have heard that “nocks are easy to remove by just pulling them out,” the reality can sometimes be a bit trickier.
Especially if the nocks are glued in place, forcing them out might damage them further or make them harder to grip. I’ve made this mistake before, and I don’t want you to go through the same thing!
In this guide, I’ll explain how to replace your nocks smoothly and avoid common mistakes. I’ll also share some personal experiences to help you learn from them.
What is a Nock?
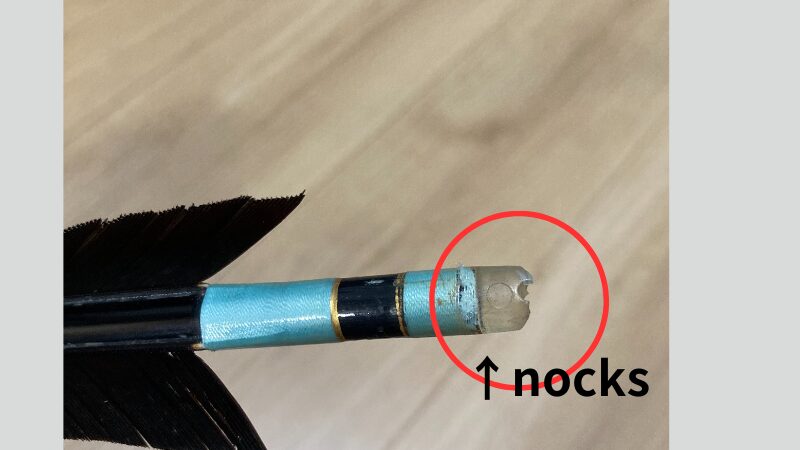
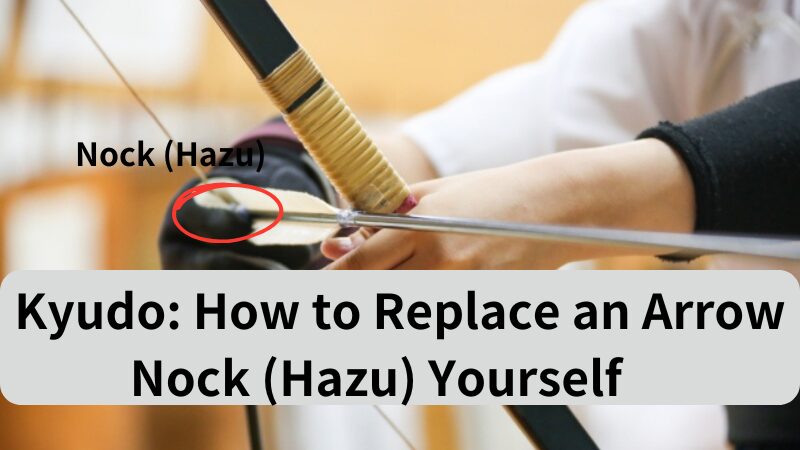
The nock is the small piece at the end of an arrow that holds the string and transfers the bow’s energy into the arrow.
It plays a crucial role in ensuring the arrow’s direction.
Materials for nocks include plastic, water buffalo horn, and more.
Tools Needed for Nock Replacement
- New nocks
- Pliers
- Wood glue
- Kettle (for steam)
Step-by-Step: Replacing a Nock
1. Removing the Old Nock
- Use pliers to pull out old, damaged, or worn nocks.
- Be careful not to twist or wiggle the nock too much, as this might damage the arrow shaft.
My Mistake:
Once, I gripped a damaged nock too tightly with the pliers and pulled hard. This caused the broken parts to worsen, making it nearly impossible to hold them with the pliers again.
If the Nock is Glued and Hard to Remove:
- Use steam from a kettle to soften the glue.
(The heat loosens the adhesive, making the nock easier to remove.) - This method is particularly useful for plastic nocks on aluminum or carbon arrows.
What If You Can’t Grip the Nock?
In my case, after breaking the nock further, I couldn’t grip it at all. Here’s what worked:
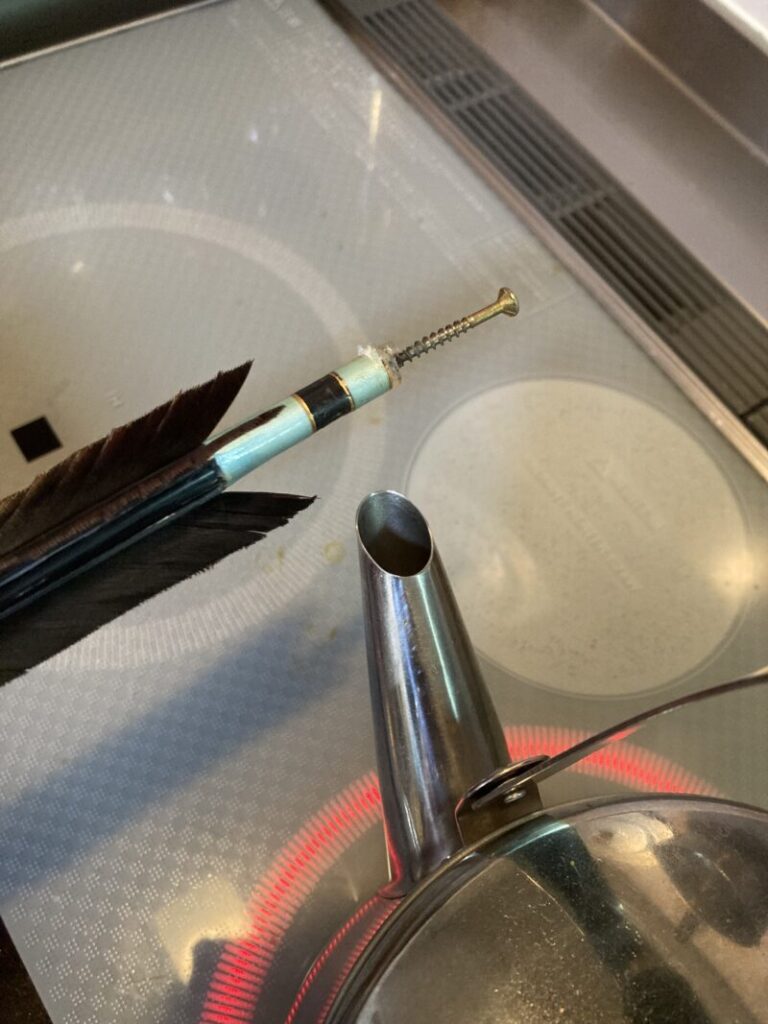
- Heat a small screw with a lighter for over a minute.
- Insert the hot screw into the nock and let it melt slightly, securing it in place.
- After cooling and hardening, use the screw to pull the nock out.
Important Notes:
- Use a screw thinner than the nock to avoid damaging the arrow.
- Let the screw cool completely before pulling.
- Be cautious of burns and avoid damaging the arrow shaft.
My Mistake:
The first time, I didn’t wait for the screw to cool enough, so it pulled out without taking the nock with it. After reheating and reinserting, I was able to remove it successfully.

2. Installing the New Nock
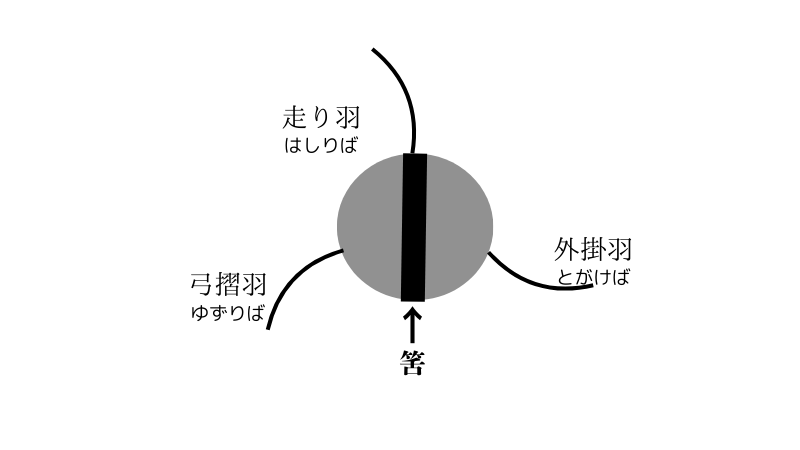
- Align the nock’s groove with the flight feathers.
- Inside: The inner feather (弓摺羽) touches your cheek during the draw.
- Outside: The outer feather (外掛羽) faces outward.
- Top: The running feather (走り羽) points upward.
- Apply a thin layer of wood glue to the new nock and insert it into the arrow shaft.
If the Nock is Loose:
- Wrap thread vertically around the nock’s base to adjust the fit.
- Avoid wrapping horizontally, as it may bunch up during installation.
- Gently tap the nock into place with a wooden board to ensure it’s fully inserted.
Nock Sizes, Shapes, and Materials
- Size: Ensure the nock matches the diameter of your arrow shaft.
- Shape:
- Straight type
- Rounded type
- Material:
- Wood, bamboo, ivory, water buffalo horn, deer antler, plastic
- Plastic nocks are the easiest to repair.
Nocks also come in various colors, letting you customize your arrows for a touch of style. Choose your favorite color and make your arrows stand out!
The nock (日本語で筈, hazu) is the part of the arrow that holds the bowstring.